
Made with in India
Made with in India
Recently, I started venturing into making electronic boards in some numbers starting with Maker’s Rule. Placing nominal sized SMDs like 1206 or even 0805 is not much of a work when you are doing a prototype. But assembling say 100s of them in one sitting is quite a task especially for people who get bored too easily. There comes the need for a Pickup tool.
A Pickup Tool creates a suction force that pulls/lifts the component from the reel so that you can place it on a PCB. Most PCB assemblers use that in their high speed pick and place machines.
Here obviously we will do things manually. But instead of using tweezers we will use a hacked Aquarium Pump. Does not seem much of an upgrade?
Well, it certainly is. The amount of dexterity required is fairly reduced and so is the frustration of tapping SMD components to have their sunny side up :P
As a matter of fact the components are placed on a PCB after manual/stencil application of solder paste. But you can try the tack soldering technique too.
Now on the topic:
There has been quite a lot of those Aquarium Pump Pickup Tool around anyway and this thing will probably be worth the try. Many of the tutorials available online use almost the same kind of Aquarium Pump which is difficult to find around here. After searching a lot, my patience gave in and i ordered this, hoping i wont have to work a lot to reverse the air flow as Aquarium pumps blow air out but the whole point of a suction pump is to suck air in.
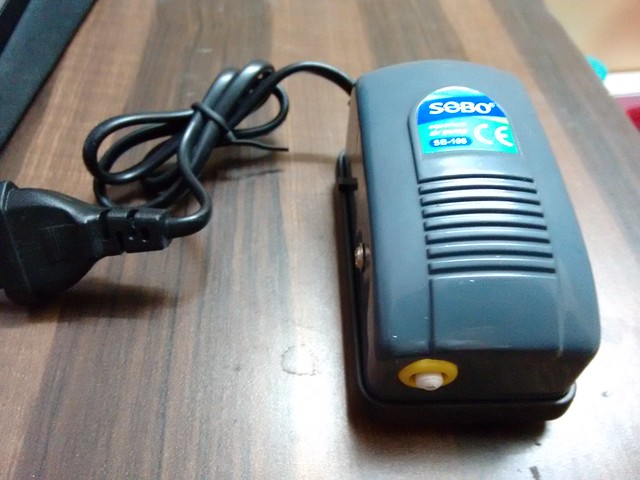
Inline with my expectations, it was a different construction being used here.

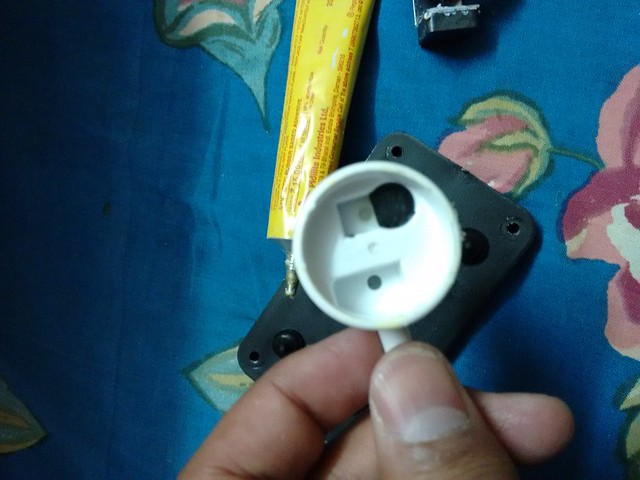
In the picture above, you have an injection moulded white plastic piece with the valves that open and close to create an airflow. On the right is a transformer close to which is an arm on which a rubber bellow is mounted that vibrates due to reluctance, which makes the air flow out.
To reverse the air flow two things can be done :
Reverse mount the white part - Tried it, the thing sort of works with almost no usable pressure generated.
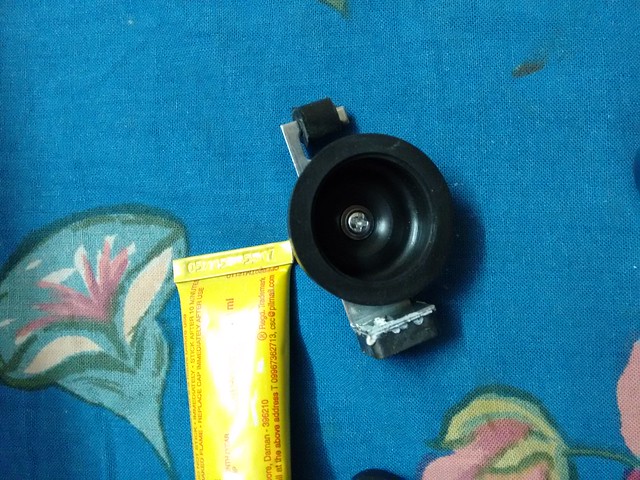
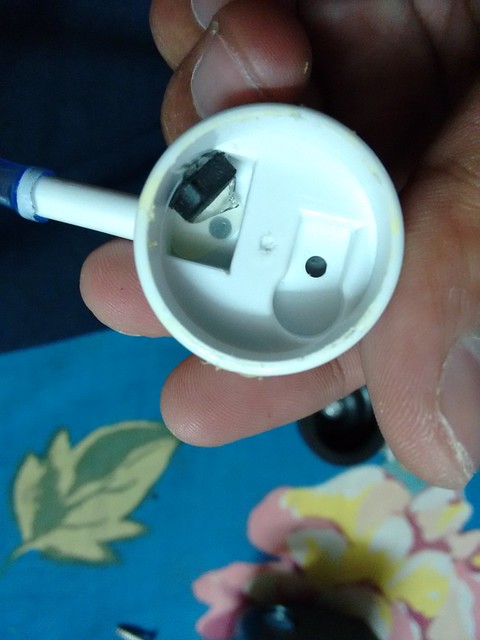
Reverse the valves/flaps - Tedious to do. Required a bit of a fiddling with valves interestingly made out of a material similar to those keyboard skins we get. Works like charm. Used rubber glue like FeviBond and the black part in the photos is a rubber piece that keeps the valve in place.
By reversing i mean that suppose a valve is mounted on side A covering a hole. We mount it on the other side forcibly covering the same hole. By doing this the sequence of valves changes and so does the airflow.
You see there is a way and then there is an Indian way !
Please follow the images below:
Before
After
Doing just the above, the airflow was reversed enough to pick most parts like resistors, caps and even SOT 223 regulators.
Now for the syringe end. I just bought the smallest syringe available around that could easily fit the tube that the pump supports. Did a small hole at an ergonomic enough point to modulate the airflow. The size of the hole is important as a smaller hole would allow some air to always flow via the needle causing issues when dropping parts.
Used Hot Glue to seal the thing up.
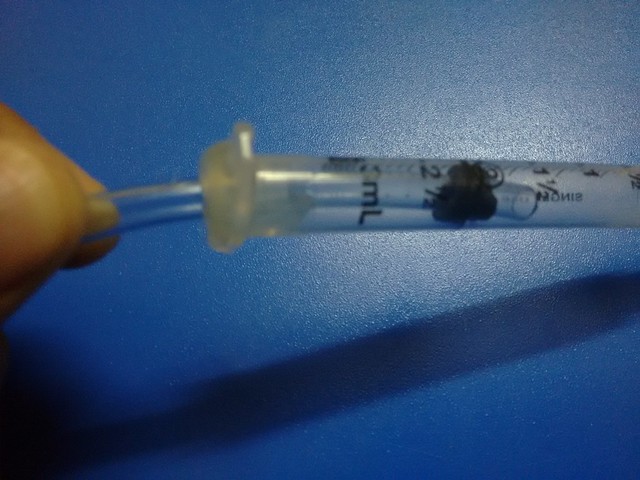
The catch is with the needle. The usual needle a chemist has is made for epidermal use and hence has a chiselled sort of tip, which is useless for picking components. I wanted to get an “applicator” needle with a blunt tip usually stocked by ink fillers of ink-jet printers. Nobody gave me one. Dremel prevailed and i sanded the needle to flatness. Then bent it a bit for an easier angle.

In Action:
With Sharp tip and wrong bleeder hole size
With everything fixed, Assembling first prototypes of Knit .
References
If you have any questions/suggestions etc please reach me via the comments section \m/
Cheers,
Rohit