
Made with in India
Made with in India
Zu ZU ZU ZU ZU UUUU ..BR.BR.CHIK Thats how my old ‘Phillips All in One’ failed a couple of weeks back. It was a pretty archaic piece. All it could do was play Cassettes, Do Radio, Had an Aux In and offcourse the marketed CD Player with a segmented Display. But today most of the music is digital and hence Upgrade was necessary.
I was planning to buy one and browsing the estores but then then Makers Dilemma struck me.
Why Buy? When it can be Built!
And alas! I was fiddling with microcontrollers and SD Cards to make one. But couldnt get to the level i wanted. I wanted one that could:
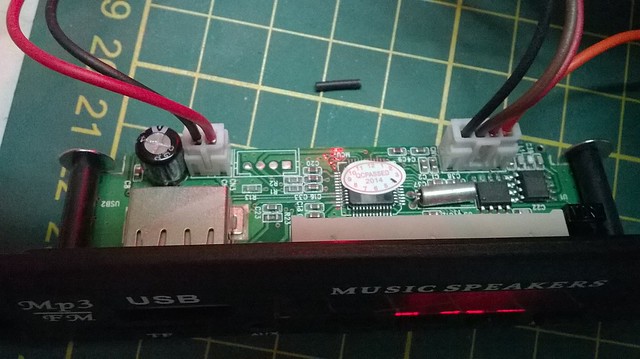
Fitting such things in a project would rather be heavenly. I searched online for references and You have it boy! there is one ready to amplify (supply) module from our friends in China that does it all . See this .
I had seen this in a Taxi (less formally called Gramin Seva) while commuting to college once, which made me realise that this would certainly be available in India. The next day i was in the market looking for it and I did source it for about 9 $ (INR 500 )
Now all i need to do is :
Connections were pretty easy as the silkscreen had some references. It basically needs a 5V DC supply that’s the two pin connected on the left for and give stereo output using the 3 of 4 connectors on right (Right, Left and GND) and the last one is for the FM Antenna
The next part was testing if i will see the blue smoke of death as sometimes they can mess up with silkscreens too. FingersCrossed
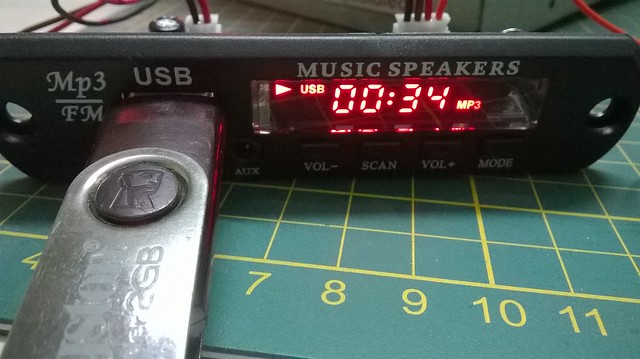
It worked fine and i was playing things off the USB straight away!
Now, the power supply and Amplifier. I used the omnipresent 7805 Regulator that could power the module easily as i estimated the current requirements to be around 250-300mA . The supply was going to be 12VDC due to the Amp i was building and hence, a heat sink was necessary.
The Amp was build out of ST’s TDA2030 which is a 14W,voltage friendly, High Fidelity (Correct Portrayl of sound without much loss in clarity), Class AB , Mono Amplifier.
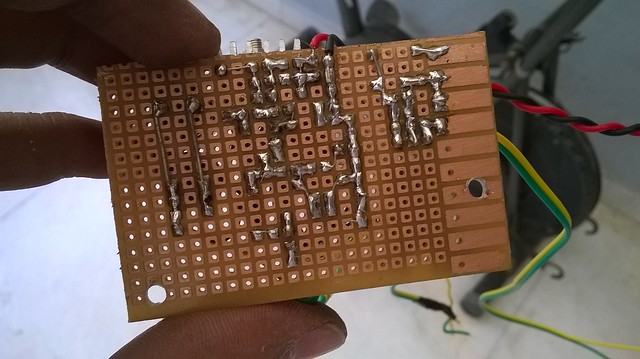
The Application circuit works charm. So, i assembled them on a single perfboard and was short of one heat sink. I now had to decide. Who needs the heat sink badly?
Demo runs showed TDA2030 needs it badly. Now using some thermal glue and nuts and bolts i screwed the heatsink to the TDA2030 and made a makeshift heat sink for 7805

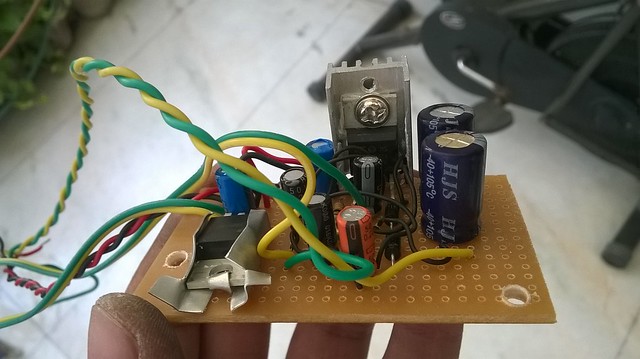
I heard a strange buzz sometimes in the background which was because of some filtering issues. Adding a snubber (filter) for AC frequencies (50Hz) that was almost gone. Used the 10k and 0.1uF combination.
I had an Old but dis functional Column 2 component speaker, we had bought probably 12 years down the line. It was the ideal candidate for the purpose. Now opening and digging i found phenolic pcb with broken and corroded traces. I reworked them and the Woofer was working . (Oh! Yeah)
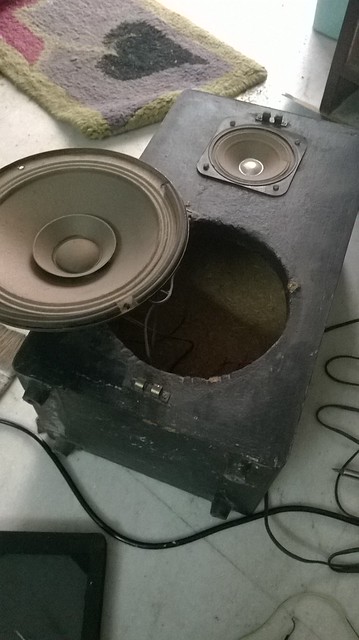
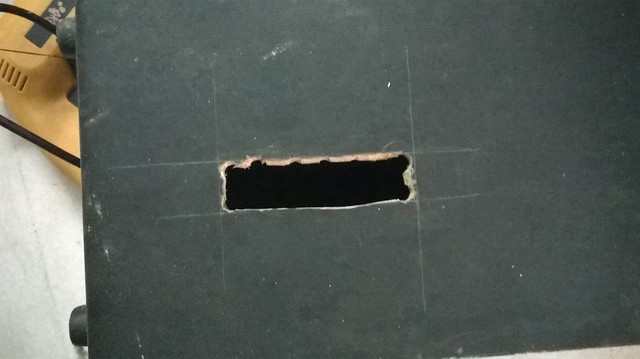
I planned to fit the circuit inside the speaker box itself. For that i had to cut a small square pocket in the body for the module to peep out and the other electronics would be inside it.
This was a bit more difficult than anticipated. After 2 hours and 2 broken saw blades , I was able to do this.
Now it was assembling time.
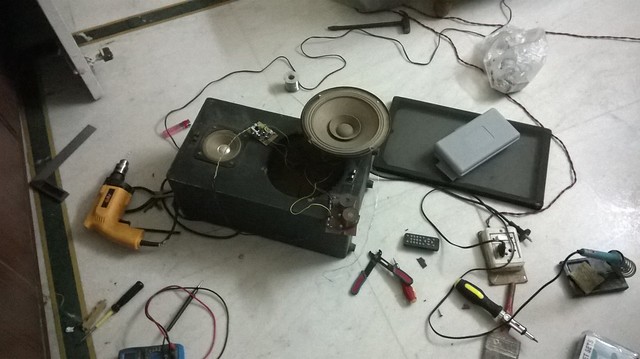
After a few half hours, i got it all working.. No Buzz and all music!
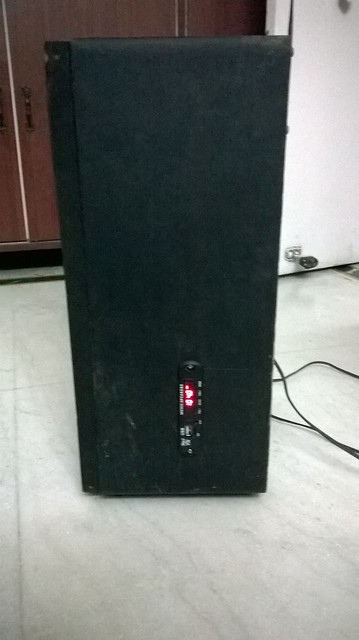
Cheers!
Rohit